You stand at the kitchen counter, listening to the steady drum of afternoon rain against the windowpane. You hook your finger under the ring-pull of a humble tin of chickpeas, feeling that satisfying snap before the metallic tear. You pour them into a wire sieve, watching the slightly viscous, starchy liquid wash away under the cold tap. You have a vision of the end result: golden, heavily spiced, and shattering against your teeth like the finest pub snacks alongside a cold pint.
So, you follow the standard routine. You pat them vaguely dry with a piece of kitchen roll, drown them in cold-pressed olive oil, dust them generously with smoked paprika, and push the tray into a hot oven. Half an hour later, you pull out a tray of profound disappointment. Instead of a supreme crunch, you are left with bruised, soggy little spheres. The skin is leathery, the centre remains mealy, and the whole experience feels like a small culinary betrayal.
The Raincoat on Wet Skin
This frustration is entirely universal. We are taught from our earliest cooking days that fat equals crispness, leading us to automatically coat our root vegetables, meats, and legumes in oil the absolute second they hit the roasting tin. But tinned chickpeas are an entirely different beast. They have spent months resting in a watery bath. They are saturated to their very core.
The core problem lies in our misunderstanding of how moisture and fat interact in an oven. Applying oil to a damp chickpea is akin to putting a tight rubber raincoat onto wet skin. The oil immediately forms an impermeable, waterproof barrier. As the ambient temperature of your oven rises, the residual moisture trapped inside the chickpea attempts to turn to steam.
Because of the heavy oil coating, that steam cannot easily escape. It hits the lipid barrier and is forced back inward, essentially boiling the legume from the inside out. You are not roasting your dinner; you are simply suffocating it in a greasy, miniature sauna. The skin never has the chance to blister, and the starchy interior remains a dense, unappetising paste.
I learned the antidote to this damp tragedy during a long, frantic November in the cramped kitchen of a Cornish gastropub. The head chef, a fiercely practical woman named Eleanor, caught me drenching a fresh batch of pulses in rapeseed oil. She tutted loudly, nudged me aside, and opened a fresh tin.
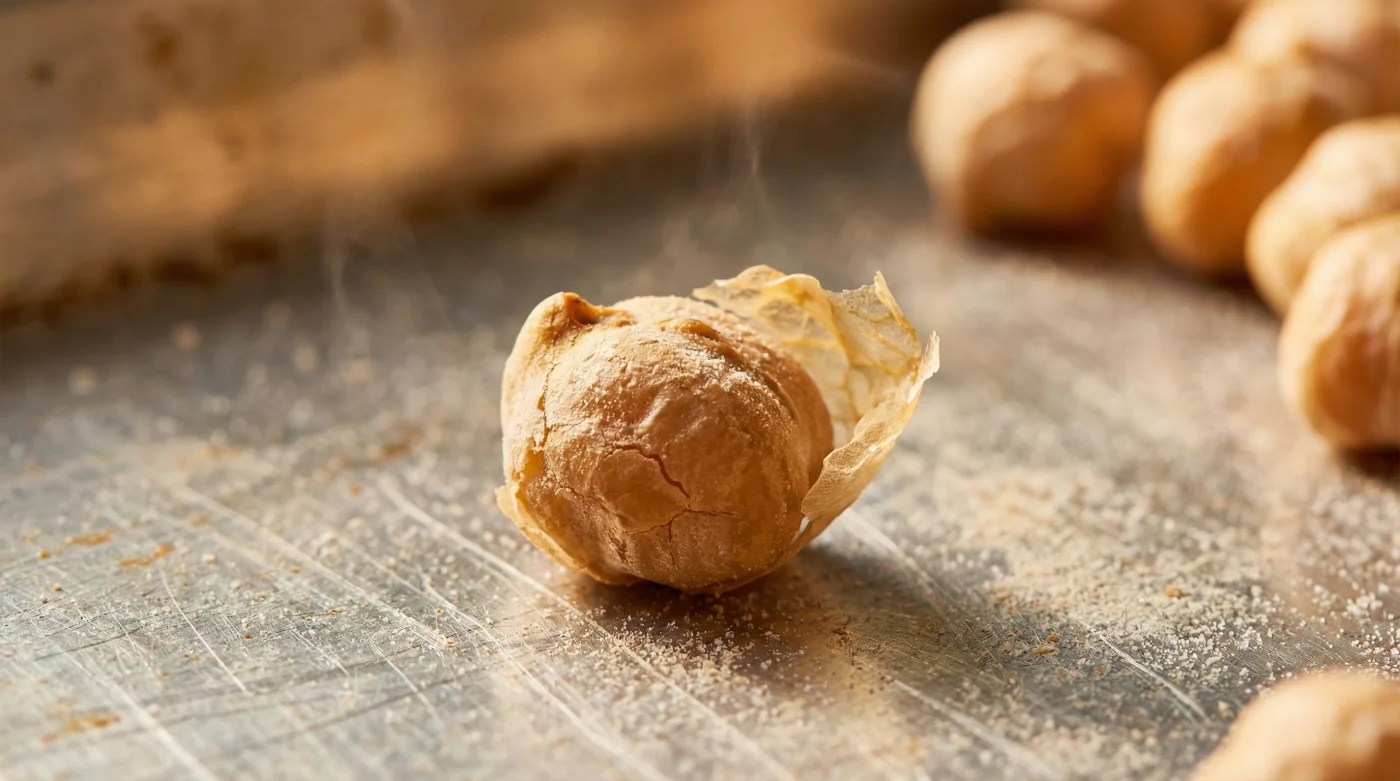
She rinsed them thoroughly, dried them aggressively with a linen cloth, and then tipped them entirely naked onto a scorching steel tray. “Ten minutes,” she instructed, pointing a pair of heavy tongs at me. “Let them breathe. Let the surface moisture evaporate so the skin tightens like a drum. Only then do you give them their coat.” It was a revelation wrapped in profound simplicity. By altering the timeline slightly, the chickpeas achieved a glassy, resonant crunch that held its texture for days.
| The Cook | The Frustration | The Dry-Roast Benefit |
|---|---|---|
| The Evening Snacker | Craving a savoury crunch but ending up with chewy, disappointing mouthfuls. | Achieves a loud, satisfying shatter akin to a premium roasted nut, entirely satisfying the craving. |
| The Batch Prepper | Salad crouton substitutes turning to mush by Tuesday lunchtime. | The tightened skin acts as a shield, keeping the interior firm and resisting dressing absorption for days. |
| The Frugal Shopper | Spending heavily on artisan snacks because home-roasted versions constantly fail. | Transforms a 65p supermarket tin into a jar of gourmet snacks, saving pounds over the month. |
| Phase | Oven Environment | Physical Reaction |
|---|---|---|
| The Naked Roast (0-10 mins) | 200 Degrees Celsius, Dry Heat | Surface water evaporates rapidly. The outer skin dehydrates and pulls taut, creating a micro-crust. |
| The Oil Toss (10-15 mins) | Room Temperature Bowl | Lipids adhere only to the very surface of the dried skin, rather than seeping into the starchy core. |
| The Final Crisp (15-30 mins) | 200 Degrees Celsius, Lipid Layer | Maillard reaction accelerates. The thin oil layer fries the taut skin, resulting in supreme crispness. |
The Ten-Minute Naked Roast
The physical actions required to master this technique are grounding and deliberate. Begin by tipping your tin into a sieve. Rinse the contents thoroughly until the water runs completely clear, stripping away every single trace of the viscous aquafaba.
- Pork shoulder remains unappetisingly tough skipping this mandatory acidic cider braise.
- Iceberg lettuce regains absolute crispness submerged in this rapid lemon bath.
- Dried pasta develops intense nutty flavours undergoing this dry pan toasting.
- Beef stew develops intensely rich gravies adding this unexpected anchovy paste.
- Pancake batter produces incredibly fluffy stacks substituting standard milk for soda water.
Place them directly onto a bare metal baking tray. Ignore the sudden urge to line it with parchment paper or foil, and leave your oil bottle firmly in the cupboard. Put the tray into a preheated 200-degree oven for exactly ten minutes.
You will soon hear a faint, rhythmic popping sound from behind the oven door as the residual moisture evaporates into the ether. Pull the tray out. Now, they are ready for their coat. Toss them in a mixing bowl with a scant tablespoon of olive oil, a generous pinch of Cornish sea salt, and your chosen spices, then return them to the heat for a further fifteen to twenty minutes.
| The Checklist | What to Look For | What to Avoid |
|---|---|---|
| The Tin | Plump, whole legumes stored in water with no added salt or firming agents. | Heavily dented tins or mushy style varieties meant specifically for instant hummus. |
| The Drying Cloth | A flat-weave linen or tightly woven cotton tea towel. | Fluffy terry cloth towels that will inevitably leave tiny threads stuck to the wet skins. |
| The Fat | A robust olive oil or rapeseed oil that can withstand a 200-degree roasting temperature. | Delicate finishing oils or low-smoke point fats like unclarified butter. |
The Rhythm of the Pantry
There is a profound, quiet comfort in taking a common, entirely unglamorous ingredient and turning it into something exceptional through pure technique. In a season where weekly grocery bills seem to creep ever higher, reclaiming the potential of a cheap tin feels like a minor, satisfying victory. You are not buying your way to a better meal; you are thinking your way there.
Once you internalise this rule of delayed oiling, it changes how you approach the oven entirely. You start noticing the importance of dry heat in other areas, from roasting parsnips to crisping up the skin on a chicken thigh. It is a fundamental shift in kitchen logic.
The next time the rain lashes against your window and you find yourself reaching for an uninspiring, shop-bought snack, remember the naked roast. Respect the moisture, delay the fat, and listen for the quiet pop of water giving way to a supreme, glassy crunch.
“The greatest mistake a home cook makes is confusing fat for heat; you must let an ingredient breathe in the oven before you ask it to fry.” – Eleanor Davies, Head Chef.
Frequently Asked Questions
Can I use an air fryer for this naked roasting method?
Absolutely. The circulating heat of an air fryer is excellent for the initial ten-minute dry phase, often completing the drying process in just six or seven minutes before you need to safely apply the oil.Should I remove every single skin before roasting?
It is completely unnecessary. While naked skins crisp up nicely on their own, peeling an entire tin by hand is a tedious task that yields diminishing returns. Just discard any that naturally fall off while towel-drying.Why do my spices burn when I roast chickpeas?
Spices like paprika and cumin have a notoriously low burning point. By adding them during the oil-toss phase after the initial naked roast, you reduce their total time in the intense heat, preserving their flavour and preventing a bitter taste.How long will they stay properly crisp in a storage jar?
If completely cooled on the metal tray before being sealed tightly in a glass jar, they will maintain their loud shatter for up to three days at room temperature.Does the brand of tinned chickpeas affect the final crunch?
Yes, slightly. Premium brands tend to have firmer, slightly larger chickpeas that hold their structural integrity better, but the naked roasting technique will drastically improve even the most budget-friendly tin.