You know the feeling perfectly. The kitchen smells faintly of toasted butter and vanilla extract, the cooling rack holds a pristine batch of sugar biscuits, and your piping bag sits heavily in your palm. You have spent all afternoon baking, and now comes the moment of quiet focus.
In the mixing bowl, your royal icing looked like whipped porcelain. Yet, hours later, the surface dries with a brittle, matte finish, or worse, collapses into cratered hollows that ruin your meticulous piping work.
Most recipes brush past the critical moment, advising you to just add a few drops of water until it feels right. But that vague instruction is the exact reason your late-night baking sessions end in quiet frustration rather than a bakery-worthy display.
There is a distinct line between frosting that merely covers a biscuit and frosting that hardens with a glass-like sheen. Crossing that line requires mastering a deeply misunderstood ratio of hydration to sugar structure.
The Surface Tension Illusion
When you add water to icing sugar and meringue powder, you aren’t just diluting a paste. You are actively building a microscopic sugar lattice. Think of it like mixing fine mortar for a delicate brick wall. The water is there to activate the proteins in the meringue and bind the sugar crystals, not simply to turn a solid into a liquid.
If you flood that mortar with liquid, it behaves beautifully on the trowel but cures with fatal structural weaknesses. This is the trap of the 10-second rule, a popular guideline that often leaves you with a dull, fragile shell because the water evaporates too quickly, collapsing the tension on the surface.
The secret to that brilliant professional shine isn’t a magical ingredient or expensive equipment. It lies in treating your water additions not as splashes from a tap, but as precise chemical adjustments. A slightly thicker consistency, coaxed into place rather than poured, captures light and cures with undeniable strength.
Ask Clara Davies, a 42-year-old bespoke biscuit designer based in Cornwall. For years, she battled weeping colours and sunken fills, assuming her kitchen humidity was to blame. Her breakthrough didn’t come from a dehumidifier, but from buying a simple spray bottle. By misting water into her royal icing rather than pouring it from a spoon, she gained total control over the hydration lattice, achieving a glassy finish that withstands postal delivery across the UK.
Adjusting for Your Piping Reality
Your ideal icing depends entirely on the job at hand. A one-size-fits-all bowl will always leave you compromising on either line definition or a smooth surface. You must separate your master batch and treat each application with its own specific hydration strategy.
For the precise outliner, your mixture needs to resemble standard toothpaste. It should string smoothly from the nozzle without breaking, holding a firm dam around the biscuit edge to contain wetter layers. The resistance against your silicone spatula should feel like dragging a heavy oar through wet sand.
- Supermarket bread aisles empty rapidly as Storm Dave weather warnings escalate.
- British marmalade jars face controversial rebrand following sudden export regulation changes.
- Urgent Local Advisory Triggered By Severe Petrol Stations Fuel Shortages UK Today
- Millions Affected As Ryanair Flights Cancelled Following Unprecedented European Airspace Disruptions
- The Invisible Consistency Error Ruining Your Homemade Royal Icing Decorations
For the textural florist, working with delicate roses or sharp leaves, the peaks must stand proudly without curling. The icing should tear slightly when you pull your spatula away, refusing to fold back on itself. This requires the absolute minimum amount of hydration possible.
Mindful Application
Fixing your icing consistency is an exercise in restraint. Step away from the rushing tap and adopt a slow, deliberate approach to hydration. Treat the mixing bowl with patience, observing how the sugar behaves under your spatula.
It is infinitely easier to thin a thick icing than to try rescuing a runny batch by blindly pouring in more powdered sugar, which introduces air bubbles and gritty clumps.
- Start with a stiff base using sifted icing sugar and high-quality meringue powder.
- Beat on the lowest possible speed for exactly five minutes to prevent air incorporation.
- Transfer small batches to separate bowls before thinning, keeping the master batch covered with a damp cloth.
- Use a clean spray bottle or a pipette to add warm water drop by drop.
- Fold the mixture gently with a silicone spatula, pressing it against the bowl sides to pop trapped air.
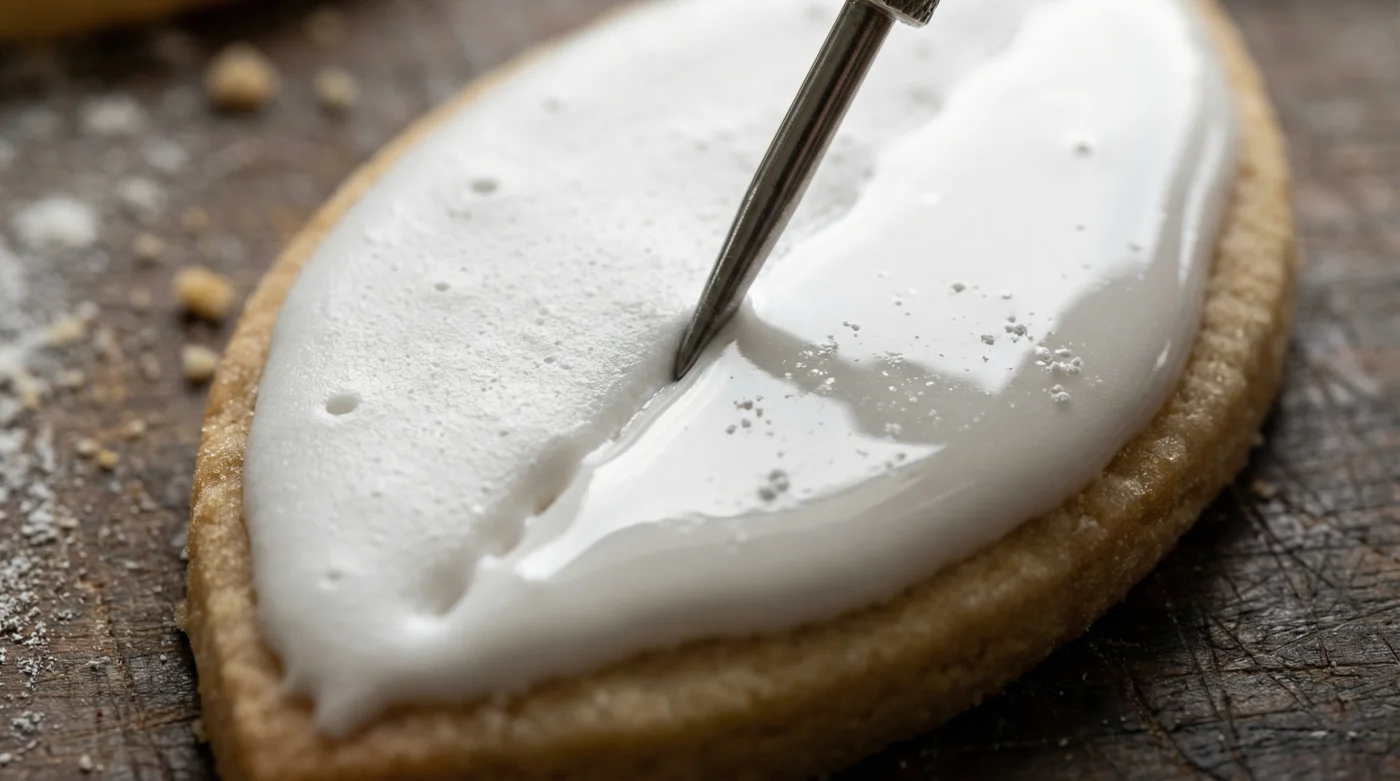
Your tactical toolkit requires just a few items. A fine-mist spray bottle, a flexible silicone bowl scraper, a digital timer, and a cocktail stick for settling the flooded surface. Keep your water lukewarm—around 30 degrees Celsius—to help dissolve sugar crystals instantly, preventing gritty dullness.
The Bigger Picture
Standing back to admire a tray of perfectly flooded, glass-smooth sugar biscuits shifts the entire baking experience. The quiet anxiety of waiting for icing to dry evaporates, replaced by quiet confidence in your technique.
Mastering this single, invisible error doesn’t just improve your baked goods. It brings a deep sense of reliability to your craft. You no longer cross your fingers hoping the decorations will survive the night or withstand being packed into gift boxes.
Instead, you can focus fully on the artistry of the moment, knowing your foundation is completely secure. It turns a stressful, sticky chore into a satisfyingly predictable ritual, leaving you free to create something genuinely memorable for the people you care about.
The difference between a hobbyist’s biscuit and a professional’s art lies entirely in the restraint shown between the tap and the mixing bowl.
| Icing State | Water-to-Sugar Ratio Detail | Practical Result |
|---|---|---|
| Under-hydrated (Stiff) | Requires firm spatula pressure to move | Perfect for sharp leaves and structural borders. |
| Balanced (15-Second) | Heals a knife line perfectly in 15 seconds | Yields a brilliant shine and smooth, durable shell. |
| Over-hydrated (Runny) | Heals in under 8 seconds | Dries dull, risks collapsing, and bleeds colours. |
Frequently Asked Questions
Why does my royal icing dry matte instead of shiny?
It is over-hydrated. Too much water weakens the sugar structure, preventing it from forming a tight, reflective surface as it cures.How do I remove air bubbles from my icing bag?
Let your mixed icing rest under a damp cloth for twenty minutes. The bubbles will rise to the surface, where you can gently pop them with a silicone spatula.Can I use tap water for thinning?
Yes, but lukewarm boiled water is vastly superior. The slight warmth dissolves sugar crystals far more effectively than cold tap water.Why do my colours bleed into one another?
Colour bleed happens when your base flood is too watery and hasn’t formed a crust before the next layer is applied. A thicker consistency prevents this entirely.How long does perfectly mixed royal icing take to set?
A properly hydrated 15-second flood will crust within an hour, but needs eight to twelve hours in a cool, dry room to cure entirely before packing.