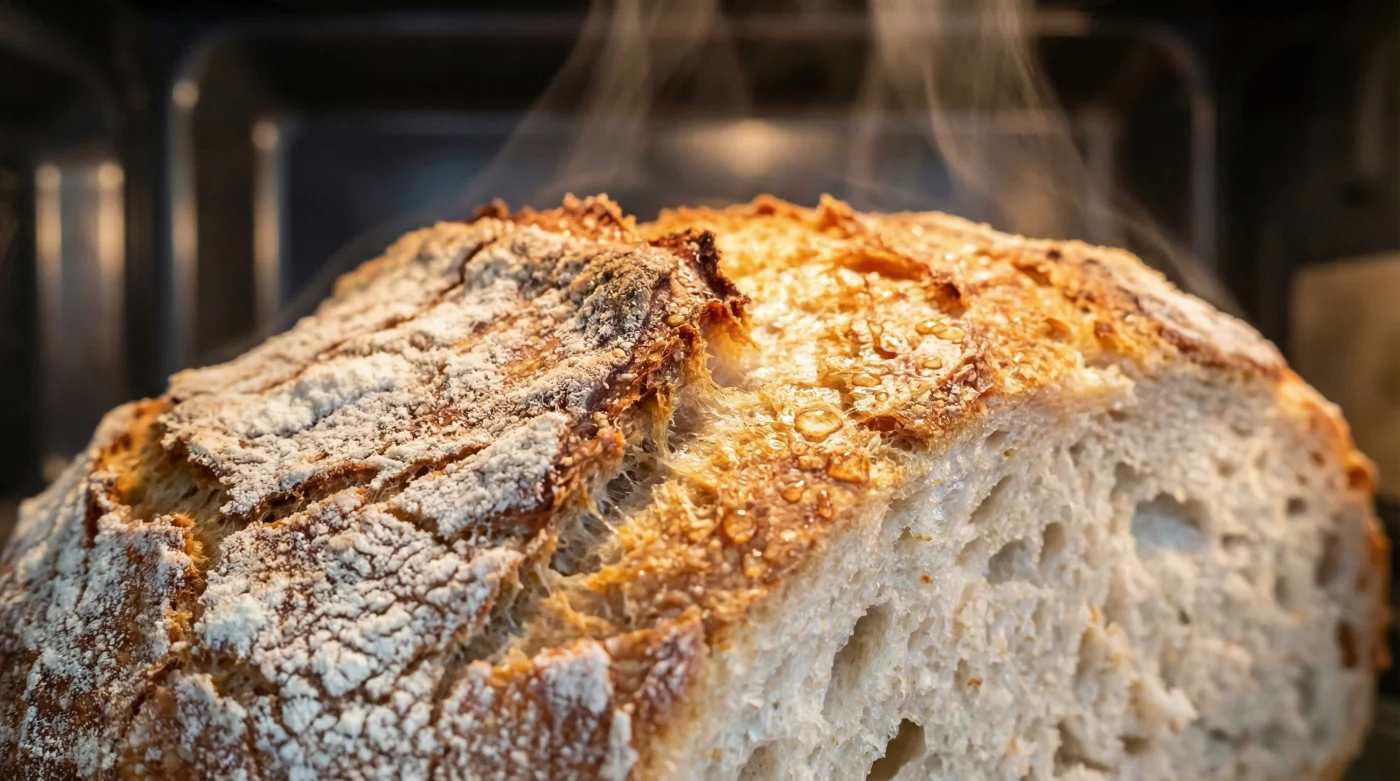
The morning light hits the kitchen counter, illuminating the quiet dust motes dancing near the kettle. Beside the toaster sits a beautiful sourdough boule, purchased just a few days ago from the artisanal baker down the high street. You reach for it, craving a thick slice heavily buttered alongside your morning tea, but your fingers meet immediate resistance.
You tap the crust with the back of a knife, and the sound echoes dully through the room. The instinct is to sigh and consign the whole thing to the food waste bin, feeling the sharp guilt of wasting four pounds sterling on something you swore you would finish.
The standard advice dictates that you must wrap the loaf in foil, fire up the oven, and wait twenty minutes to coax it back to life. Or, if you have the patience and the foresight, spend an hour chopping it into croutons to fry in olive oil.
But the professional reality reveals that the bread is not a lost cause. It is merely sleeping, waiting for the right atmospheric trigger to wake it from its rigid state.
The Architecture of Starch
We often imagine that stale bread has dried out completely, as if every drop of hydration has simply evaporated into the thin kitchen air. The truth of the matter is far more structural. The moisture has not vanished; it has merely relocated within the microscopic framework of the dough.
The starch molecules have slowly crystallised over the past forty-eight hours, turning the flexible crumb into a brittle, unyielding lattice. Targeted microwave steam instantly rehydrates the rigid gluten networks, reversing the chemical lockdown.
Think of it like a dried natural sponge left out in the sun. It does not need to be submerged in an ocean to soften; it simply needs a heavy, humid breath. The microwave is rarely celebrated by serious cooks, often dismissed as a tool for reheating cold soup or melting butter.
Yet, when paired with a simple damp barrier, it transforms into a highly efficient, high-speed humidity chamber. The radiation forces heat into the water trapped in your paper wrapping, shooting steam directly into the hardened cells of the loaf.
Elias Thorne, a forty-two-year-old baker who manages a flour-dusted shop in a damp Cornish village, deals with this reality every morning. He detests the sight of a perfectly fermented crust ending up in the compost heap just because a customer left it out overnight in a drafty kitchen.
Late one Tuesday, desperate to soften a deeply scored rye for his own breakfast, he wrapped the heel in a soaking tea towel and blitzed it. The thick, unyielding crust had regained its satisfying chew, proving that manipulating water and kinetic energy could cheat the hands of time.
Adjustment Layers for Every Loaf
Not all bread demands the same aggressive treatment. The specific approach must shift depending on the density, the flour type, and the hydration level of what is sitting on your chopping board.
For the dense artisanal sourdough, those heavy, rustic boules with a dark, thick exterior, you need serious intervention. The wrapping must be heavily saturated to generate enough steam to penetrate the hearty, tightly packed crumb.
Conversely, a standard sandwich tin loaf from the local supermarket is an entirely different beast. These thin-crusted commercial slices will turn to a sticky paste if subjected to too much moisture.
If you are attempting to soften pre-sliced bread, use a barely damp piece of kitchen roll and cut the heating time in half. You are aiming for a gentle kiss of vapour, not a tropical monsoon.
- Baking parchment lies completely flat inside metal trays adopting this crinkle.
- Dry yeast achieves rapid bakery-style rising absorbing microscopic ginger powder pinches.
- Cocoa powder yields intensely fudgy brownies skipping traditional raw flour mixtures.
- Icing sugar creates perfect glossy frostings bypassing standard aggressive mechanical whipping.
- Sweet potatoes achieve blistered skins skipping standard fork piercing routines.
You must use a moderately damp covering and, crucially, let the bread rest for a full minute afterwards. This pause allows the fats to settle before tearing into the crumb, preventing a burned mouth.
The Twelve-Second Resurrection
Reviving stale bread crusts is a quiet act of kitchen precision. It takes a frustrating thirty-minute chore of pre-heating ovens and splashing water onto hot baking trays and compresses it into a brief moment.
Before you begin, gather your tactical toolkit. You need a few specific items: cold tap water, a microwave-safe plate, and one thick sheet of strong kitchen paper. This is a task that demands less than a minute of your time.
- Run the sheet of kitchen paper under the cold tap until completely soaked.
- Wring it out firmly so it stops dripping but remains cold and heavy.
- Wrap the stale crust entirely in the damp paper, tucking in the edges securely.
- Place the wrapped parcel in the centre of the microwave plate.
Set the machine to a medium-high power setting. Blast the wrapped bread for exactly ten to twelve seconds. You will hear the rapid hiss as the water turns to vapour, forcing the rigid starch to yield.
Carefully open the door and remove the paper immediately. If you leave it wrapped in its damp cocoon, the cooling steam will condense rapidly on the surface, turning your revived crust soggy.
Place the warm, steaming loaf onto a wire rack. Let it breathe in the open air for twenty seconds before applying a bread knife. The crumb will be incredibly soft, and the crust will have regained its former glory.
Reclaiming the Morning Routine
There is a deep, quiet satisfaction in taking something broken and making it whole again with nothing but water and a bit of domestic science. We live in an age conditioned by rapid disposal, where slight imperfections dictate the end of a product’s lifespan.
Learning to manipulate steam and starch changes that wasteful reflex. It is no longer just about salvaging a few slices for your morning toast; it is about understanding the materials in your kitchen on a molecular level.
When you slice into that newly softened crust, feeling the blade sink through without resistance, you appreciate the baker’s craft all over again. You have rescued the time, the flour, and the effort that went into that loaf.
You reclaim a small victory over the ticking clock, transforming a rigid disappointment into a warm, fragrant start to the day. It is a moment of mindful application that respects the food on your table.
A loaf isn’t dead when it goes hard; it is simply waiting for you to reintroduce the warmth and water it lost to the air. – Elias Thorne
| Key Point | Detail | Added Value for the Reader |
|---|---|---|
| The Oven Bake | 20-30 minutes of heating | Gives a crispier finish but costs more in electricity and time. |
| The Damp Microwave Blast | 12 seconds of targeted steam | Solves the morning rush instantly without heating the entire kitchen. |
| French Toast or Croutons | 15+ minutes of preparation | Turns waste into a meal, but requires extra ingredients like eggs or oil. |
Frequently Asked Questions
Does this work on bread that is several weeks old? If it has turned completely to stone or shows signs of mould, let it go. This technique is for bread that has gone hard over two to four days.
Will the crust stay soft all day? No. The steam provides a temporary fix. You should eat or toast the bread within ten minutes of microwaving.
Can I use a damp cloth instead of kitchen paper? Yes, a clean, damp tea towel works beautifully and is better for the environment. Just ensure it does not smell of laundry detergent.
Does the microwave power level matter? Absolutely. Blasting it on maximum power can turn the crumb rubbery. Stick to a medium-high setting to allow the steam to penetrate gently.
What if the centre is still hard after twelve seconds? Give it another five seconds. Dense artisanal loaves might need a fraction longer, but always check it in short intervals.