The afternoon light catches the coarse dusting of caster sugar sitting atop your freshly baked Victoria sponge. The kitchen still holds that warm, toasted fragrance of vanilla extract and browned butter. You have waited patiently for the layers to cool on the wire rack, whipped the filling to a perfect airy peak, and carefully assembled the tiers. You reach into the drawer for your trusty kitchen knife, anticipating the satisfying reveal of those perfectly contrasting layers.
You press down, and the delicate illusion shatters instantly. The top tier bows heavily under the weight of the steel, the vanilla buttercream bulges awkwardly over the sides, and the brilliant red strawberry jam smears violently across a crushed and torn crumb.
We spend our weekends fussing over room-temperature eggs, folding sifted flour with anxious precision, and watching the oven door like hawks, only to ruin the final presentation in a matter of seconds. You hand over a wedge on a dessert plate that tastes undeniably spectacular but resembles a minor structural collapse. The jam is everywhere, the cream is deflated, and the sponge looks dense and heavy.
The gap between a quaint, slightly tragic homemade lump and a sharp, pristine patisserie slice isn’t a reflection of your baking talent or the quality of your ingredients. The secret to that expensive-looking finish relies entirely on temperature and gentle friction.
The Mechanics of the Smear
Think of your beautifully aerated sponge and rich buttercream as a delicate suspension bridge. The flour provides the structure, but it is fragile, filled with thousands of tiny air pockets created by your careful creaming of butter and sugar. When you push a cold, flat blade down through the middle of this structure, you are applying blunt force trauma. You aren’t slicing the cake; you are crushing the air pockets out of the delicate crumb.
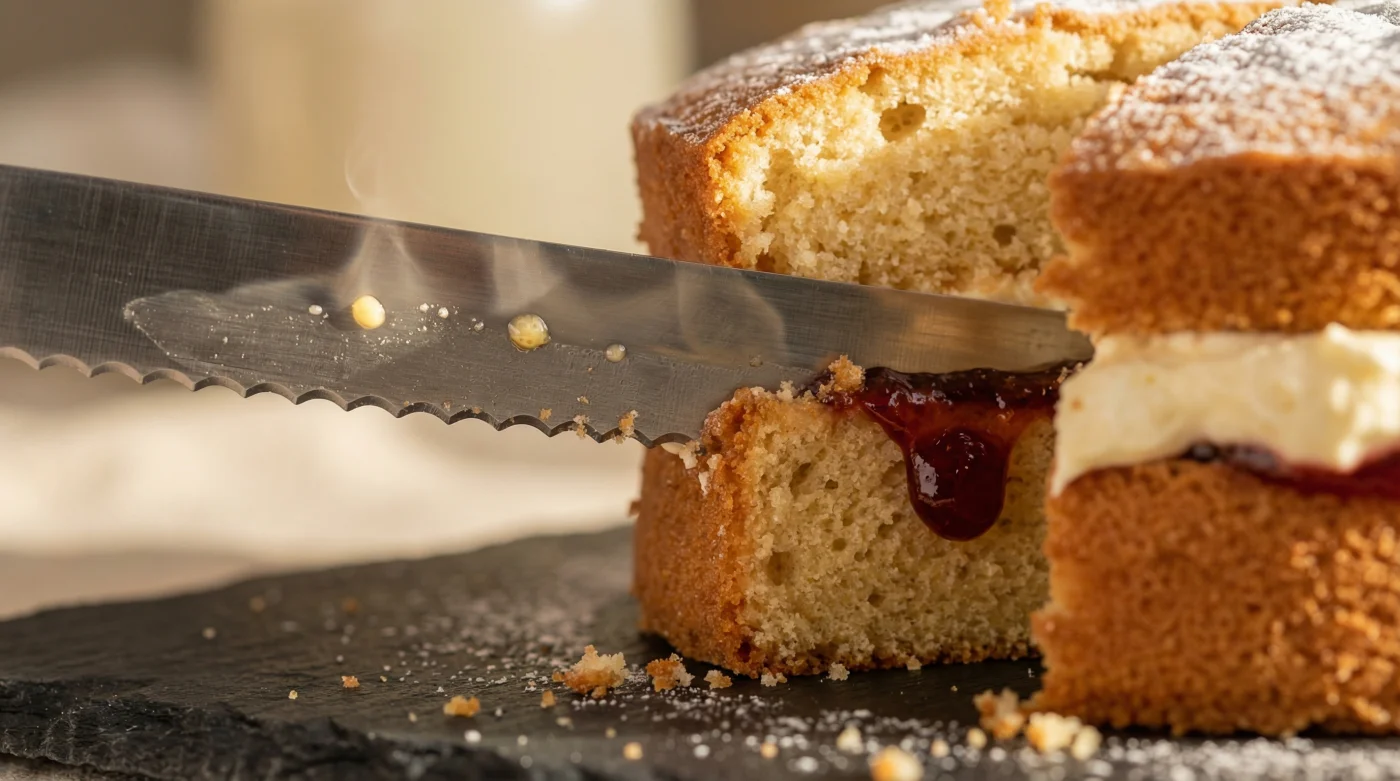
This is where the physics of a specific tool changes everything. A hot, serrated knife instantly melts the fat on contact, creating a microscopic layer of liquid butter that allows the steel to glide rather than drag. The serrations catch the crust, breaking it gently, while the heat prevents the sticky jam and buttercream from clinging to the metal.
The Bath Baker’s Routine
Eleanor Vance, a 42-year-old pastry chef running a high-volume independent bakery in the heart of Bath, slices hundreds of pristine cakes every single week. Her cutting station doesn’t feature expensive laser cutters, industrial guillotines, or fancy wire saws. Instead, amidst the chaos of proving dough and piping bags, she relies on a tall, narrow jug of freshly boiled water and a thick, clean tea towel.
She dips a long bread knife into the water, letting the steel absorb the thermal energy for ten seconds. Wiping it completely dry in one swift motion, she draws the blade across the golden crust without applying any downward force whatsoever. The heat effortlessly clears a path through buttercream, leaving the ruby layer of jam completely undisturbed and the crumb structure perfectly intact. “We bake for flavour,” she often tells her apprentices, “but we slice for the eyes.”
Tailoring the Cut to Your Bake
Not all sponges demand the exact same approach. The filling dictates the finesse required, and recognising the distinct temperament of your chosen ingredients prevents a late-stage disaster on the serving plate. A Victoria sponge is a versatile canvas, and the way you approach the cut must adapt to what is hiding between those golden layers.
For the traditionalist working with a dense, classic buttercream, the heat is your primary and most vital tool. The butter in the frosting will aggressively cling to cold steel, acting like an adhesive. The blade must be hot enough to sever the butter bonds instantly, melting a path before the frosting has a chance to drag down into the lower sponge tier.
If you belong to the camp that prefers a lighter touch—perhaps freshly whipped double cream and whole sliced strawberries—your focus shifts heavily to the serrations. Fresh cream lacks the structural integrity of butter, meaning the sawing motion must be incredibly light. The teeth of the knife must do the work to prevent the fruit pieces from catching and ripping through the stark white filling.
The host preparing for a busy garden party or a Sunday roast can employ a slightly different preparatory tactic. Placing the fully filled cake into the refrigerator for twenty to thirty minutes before slicing firms up the butter in the crumb slightly. This brief chill makes the entire structure far more receptive to the blade, allowing the hot steel to contrast sharply against the cool cake for an incredibly precise line.
For those experimenting with alternative ingredients, such as a vegan Victoria sponge utilising plant-based blocks, the melting point is often slightly different. Plant fats can smear more readily at room temperature. Ensuring your knife is piping hot and wiped meticulously clean between every single cut becomes non-negotiable to maintain those sharp edges.
The Hot Saw Technique
Executing this plating authority requires mindful patience rather than mere muscle. You want to let the tool do the heavy lifting, coaxing the cake apart gracefully rather than forcing it open in a rush.
- White sandwich bread removes intense burnt odours salvaging scorched saucepan rice instantly.
- Frozen hash browns create flawless savoury pie crusts skipping tedious pastry rolling.
- Hellmanns mayonnaise produces perfect roast potatoes replacing traditional hot goose fat.
- Instant coffee granules deepen slow cooker beef stews mimicking expensive stocks.
- Stale sourdough bread returns perfectly crusty undergoing this rapid tap submersion.
- Fill a tall, heat-proof measuring jug with freshly boiled water and submerge the entire cutting length of a long, serrated bread knife.
- Wait roughly fifteen to twenty seconds for the metal to become thoroughly heated—it should be uncomfortably warm to the touch.
- Pull the knife from the water and immediately wipe it bone-dry with a clean tea towel; even a single drop of water will leave a soggy mark on your pristine caster sugar dusting.
- Place the serrated edge against the top crust at a slight angle and gently draw it back and forth in long, sweeping motions. Do not push down. Let the teeth cut the crust, and let the heat melt through the filling.
- Once you hit the bottom cake board or serving plate, slide the knife out horizontally from the base rather than pulling it back up through the slice. Clean the blade of any debris, submerge it back into the hot water, and repeat the entire process for the next cut.
Your tactical toolkit for this method is wonderfully minimalist and entirely accessible. You need nothing more than a kettle, a deep vessel for the water, a lint-free cloth, and the longest serrated knife sitting in your kitchen drawer. A palette knife can also be kept nearby to help slide the perfect slice onto the waiting plate.
The length of the blade is crucial because you need a long, continuous stroke to achieve a smooth finish. Short, aggressive sawing motions will inevitably snag the delicate crumb, creating a rough, ragged face on the cake rather than a smooth, bakery-quality cross-section.
Eating with Our Eyes
When you master this remarkably simple mechanical habit, the familiar anxiety of serving dessert disappears entirely. You stop apologising for the messy state of the slices as you hand them out to friends and family sitting expectantly around your dining table. The presentation finally matches the effort you poured into the mixing bowl.
A perfectly cut slice of cake commands a quiet sort of respect. It proudly shows off the distinct, pale yellow lines of the aerated sponge, the stark, pure white of the cream, and the vivid, jewel-like flash of the jam. It transforms a humble, everyday afternoon treat into a moment of quiet luxury.
You realise that baking is only half of the equation. The final impression, the visual promise of the textures to come, is sealed in the very last moments before eating. Taking an extra five minutes to boil the kettle and treat your bake with the mechanical respect it deserves ensures that every single forkful looks exactly as glorious as it tastes.
“The structural integrity of a sponge is built in the oven, but its visual beauty is won or lost at the cutting board; heat your blade to respect your bake.”
| Slicing Method | Physical Reaction | Added Value for the Reader |
|---|---|---|
| Cold, Straight Knife | Compresses air pockets and drags butter downward. | Avoid this to prevent heavy, squashed sponge and smeared fillings. |
| Cold, Serrated Knife | Saws the crumb but pulls sticky jam and buttercream across the face. | Good for plain bread, but ruins the visual separation of cake layers. |
| Hot, Serrated Knife | Melts fat on contact while gently sawing through the crust. | Achieves patisserie-level, perfectly distinct layers with zero squashing. |
Frequently Asked Questions
Why can’t I just use a very sharp chef’s knife?
A straight edge acts like a wedge, pushing the cake apart and compressing the crumb. A serrated edge removes tiny amounts of cake as it saws, preventing structural compression.
How hot does the water need to be?
Freshly boiled from the kettle is best. The metal needs to retain enough thermal energy to melt butter instantly upon contact, which requires it to be hot, not just warm.
Will a hot knife melt my fresh cream filling completely?
No, because the contact is fleeting. The heat only melts the microscopic layer of cream directly touching the steel, allowing the blade to pass through without dragging the rest of the filling.
Do I have to wipe the blade between every single slice?
Absolutely. If you skip wiping, you will drag the melted butter and sticky jam from the previous cut across the fresh face of the next slice, ruining the clean lines.
Can I use this method for completely iced celebration cakes?
Yes. The hot serrated blade is particularly effective for thick fondant or solid ganache, as the heat scores a clean line through the tough exterior before tackling the soft interior.