You slide the tray into the oven, the harsh kitchen lights catching the pale slab of cold dough. Within ten minutes, the air fills with the rich, toasted scent of French butter.
You are used to watching it behave like a sudden storm, expanding wildly, separating into towering, chaotic flakes. It always feels like a minor kitchen triumph when it rises high above the rim of the dish.
But if you want a professional tart base, this massive rise is secretly your enemy. The pastry puffs up unpredictably, pushing your delicate toppings sideways, leaving you with a soggy, uneven mess that collapses as soon as you cut into it.
The professional reality contradicts every instinct you have. To achieve that tightly layered, shatter-crisp base found in high-end bakeries, you must forcefully pin the pastry down. Destroying the chaotic rise is precisely how you build true structure.
The Perspective Shift: Compressing the Deck
Think of this dough not as a balloon waiting to be inflated, but as a dense stack of fine paper. When heat hits the butter, water turns to steam, forcing those incredibly thin layers apart. Left to its own devices, it lacks discipline.
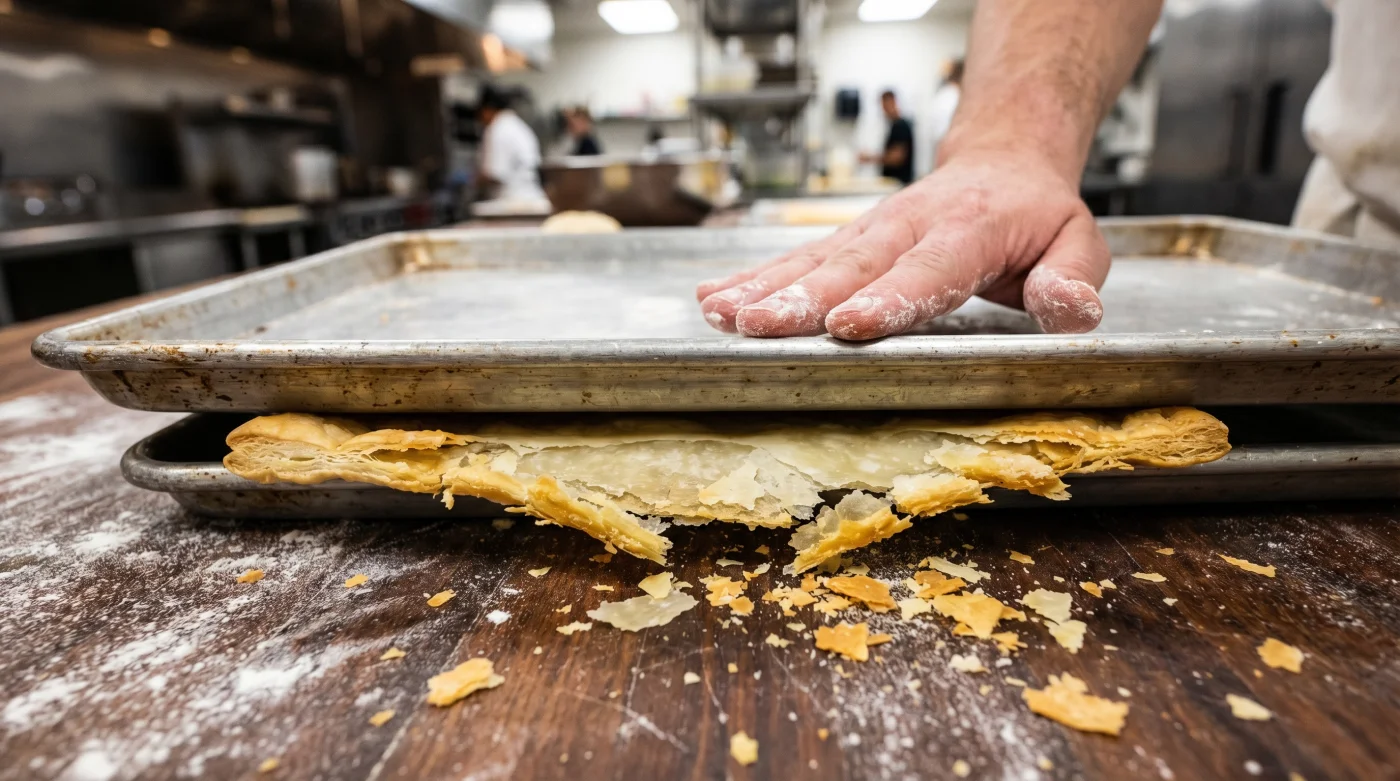
By introducing intense physical pressure, you force those layers to bake intensely close together. You will find that puff pastry bakes incredibly flat pressing heavily between two baking trays. The steam still cooks the flour, but the resulting texture is beautifully dense and reliably flat, forming an impenetrable barrier against wet fillings.
Thomas, a 42-year-old head baker running a quiet cafe in Bath, spent his early career fighting uneven tart bases. He finally found his rhythm not by altering the dough, but by sandwiching his rough puff between two aluminium baking trays, weighed down with a cast-iron skillet. The result was a miraculously flat, caramelised disc that shattered perfectly on the fork.
Adapting the Weight: Variations on Pressure
Different outcomes require slight adjustments in pressure. Your method changes depending on whether you are constructing a delicate dessert or a robust dinner.
For the sweet architect building a mille-feuille, you want absolute precision. A dusting of icing sugar before placing the top tray creates a caramelised, glass-like finish that cuts beautifully without crumbling under the knife.
For the savoury pragmatist building a base for roasted tomatoes or mature cheddar, prick the dough firmly with a fork, add a sheet of baking parchment, and apply a slightly lighter tray. You want just enough rigid resistance to stop the centre swelling, leaving the edges slightly free.
Mindful Application: The Tactical Toolkit
Mastering this technique requires a shift in your kitchen rhythm. It is about deliberate, calm actions rather than simply rushing to get the tray into the heat.
You must ensure everything is incredibly cold before the baking begins. Resting the trapped dough in the fridge for twenty minutes before baking ensures the butter stays solid until the exact right moment.
- Preheat your oven to 200°C (Fan 180°C), ensuring it is fully up to temperature.
- Roll your chilled pastry to the thickness of a pound coin.
- Place the dough on a heavy baking tray lined with non-stick parchment paper.
- Cover the dough with a second sheet of parchment.
- Place an identical heavy baking tray directly on top, pressing down firmly.
The Bigger Picture: Relinquishing the Rise
Baking often feels like an unpredictable negotiation with chemistry. We cross our fingers, staring through the glass oven door, hoping the dough will behave exactly as the packet promised.
But when you choose to restrict the pastry, you are claiming absolute culinary control. You stop hoping for a haphazard puff and instead engineer a reliable, shatteringly crisp foundation for your meals.
This simple act of pressing the dough changes the way you approach your kitchen. It transforms a fragile, temperamental ingredient into a robust, dependable staple, ready to support whatever flavours you choose to lay upon it.
Professional pastry is not about letting ingredients run wild; it is about guiding them into their most perfect, structural form.
| Key Point | Detail | Added Value for the Reader |
|---|---|---|
| The Double Tray Method | Sandwich dough between two lined aluminium trays. | Prevents uneven rising and creates a perfectly flat, professional base. |
| Chilling Before Baking | Rest the weighed-down dough in the fridge for 20 minutes. | Keeps butter cold, ensuring a shatter-crisp texture rather than a greasy bottom. |
| Sugar Dusting (Sweet) | Adding icing sugar before the top tray goes on. | Creates a caramelised seal that stops cream fillings making the base soggy. |
Frequently Asked Questions
Do I need special baking trays for this?
Standard heavy-duty aluminium trays work perfectly. Flimsy trays may warp under the intense heat, so use the thickest ones you own.
How long do I leave the top tray on?
Keep it on for the first 15 to 20 minutes of baking. You can carefully remove it for the final 5 minutes to achieve a deeper golden colour.
Will the pastry still be flaky?
Yes. The layers still separate microscopically, creating a dense, highly compressed flakiness that snaps rather than crumbles.
Can I use a heavy frying pan instead of a tray?
A cast-iron pan placed directly on top of the parchment works brilliantly if you do not have a second tray of the exact right size.
Does this work for shop-bought pastry?
Absolutely. It transforms an average supermarket block into a professional-feeling tart base with zero extra effort.