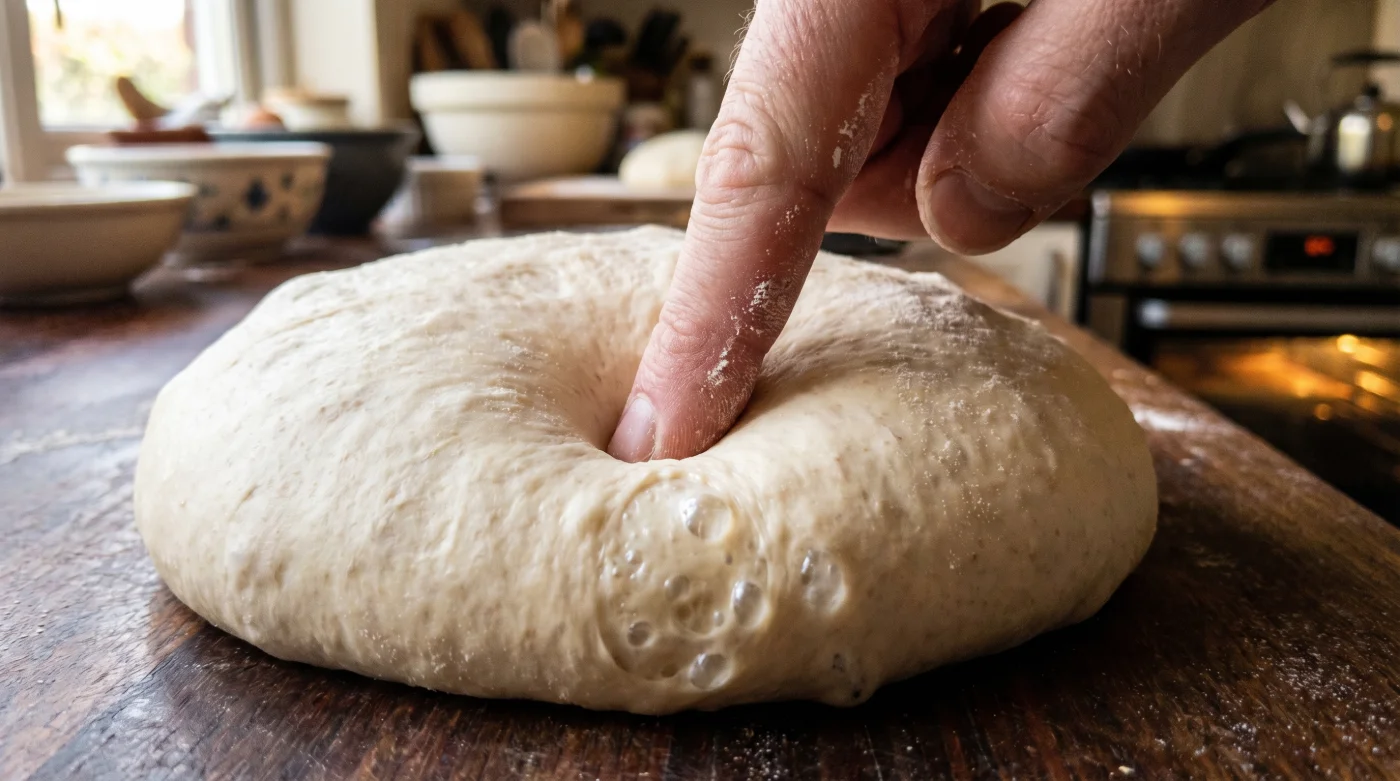
The damp, floury smell of the kitchen settles gently around you. You have kneaded the dough until your wrists ache with a familiar, dull rhythm, watching the mixture transform from a shaggy, unpromising mess into a smooth, slightly tacky sphere. It sits in its glass mixing bowl, smelling faintly of malted grain and quiet potential, waiting for the chemical magic of yeast to take hold and do its work.
But time is the one ingredient you are currently missing. The traditional recipe demands hours of patient waiting, a luxury you simply do not possess on a cold Tuesday evening when the house feels distinctly chilly and dinner is already looming on the horizon. The kitchen sits stubbornly cold, making that smooth sphere of dough feel far more like a dormant stone than a living, breathing entity.
You might be severely tempted to force the issue, shoving the bowl directly onto a rattling radiator or thrusting it into an actively heating oven. This impatient approach usually results in a disastrously baked, crusty exterior while the delicate yeast within perishes instantly from sudden thermal shock. There is, however, a much subtler way to coax life into your loaf without sacrificing its intended texture or ruining your evening plans.
By consciously harnessing the residual, ambient warmth of your kitchen appliances, you can create a highly controlled microclimate. It turns out, a gentle, strategic nudge is all your sleeping yeast needs to wake up, multiplying rapidly and turning a day-long ordeal into a highly efficient, rather effortless process.
The Radiance Radius
Think of your yeast cells not as an inert powder waiting to be activated, but as thousands of sleeping gardeners. If you blast them with direct, aggressive heat, they panic and perish immediately. If you place them in a mild, sunlit conservatory, they stretch, breathe, and get straight to work. When you thoughtfully place your bowl near—but critically, not directly inside—a warm oven, you are building that exact invisible conservatory.
This is the critical difference between aggressive direct conduction and gentle, ambient convection. You aren’t baking the dough prematurely or forcing a crust to form; you are warming the air that surrounds it, allowing the shifted ambient temperature to gently coax the yeast into a state of beautifully accelerated fermentation.
The fundamental flaw in most modern kitchens is their severe, engineered efficiency; draught-free and often starkly cool to save on winter heating bills, they are entirely inhospitable to traditional proving unless you are willing to wait half a day. Turning a deliberate blind eye to the vague ‘room temperature’ instruction and actively managing your kitchen’s thermal zones is exactly how you take back control of the clock.
The Artisan’s False Summer
Meet Arthur Pendelton, a 62-year-old artisan baker from Cornwall who spent his entire twenties waking at two in the morning to start his loaves. He eventually realised that manipulating micro-climates was far more effective than continuously sacrificing his own sleep. “People treat dough like it needs a sauna,” he notes, tapping a flour-dusted wooden workbench. “It actually just needs a mild, slightly humid afternoon.” Arthur’s daily trick—running his main ovens at a low heat to bake delicate pastries, while placing his heavy sourdoughs on a metal trolley exactly two feet away—cut his proving time by sixty percent without losing a fraction of the open crumb structure. He effectively engineered a false summer, a brilliantly lazy fix that allowed him to finally sleep until dawn.
Mapping Your Kitchen’s Thermal Zones
Not all doughs require the exact same treatment, and deeply understanding the specific needs of your bake dictates exactly where you should place your bowl. You have to learn to read the room, quite literally, to find the perfect pocket of lingering warmth.
For enriched doughs like brioche or sticky cinnamon buns, the dense, buttery mixtures are notoriously sluggish to rise. The heavy fat coats the yeast cells, making them lethargic and slow to multiply. Placing them roughly thirty centimetres from the oven door while it preheats for another dish cuts right through the fat’s natural resistance, waking the lethargic yeast without melting the butter into a greasy, unworkable puddle at the bottom of the bowl.
Lean sourdough, on the other hand, relies entirely on a culture of wild yeast that is famously temperamental and easily soured by too much direct heat. You want a slower, incredibly steady warmth that feels rather like breathing through a thick pillow. Instead of placing it directly in the firing line of the oven’s front exhaust, rest the bowl on the kitchen counter just above a dishwasher mid-cycle, or beside an oven that was turned off over an hour ago.
Then there is the urgent emergency flatbread or weeknight pizza dough, required when you have exactly forty-five minutes before friends arrive. Turn the oven on to 50 Celsius, leave the heavy door slightly ajar, and sit the bowl on a dining chair right in the path of the escaping warm air. This rapid setup acts as an incubator, dramatically inflating the dough while you frantically chop the tomatoes and grate the mozzarella.
The Five-Minute Microclimate Setup
Executing this strategy requires minimal physical effort, but demands precise attention to spacing and moisture coverage. It is a brilliant five-minute setup that saves you hours of pacing around a cold kitchen, waiting desperately for something to happen.
First, you must ensure your bowl is covered properly to trap the internal humidity. A damp cotton tea towel is highly traditional, but a cheap shower cap or a lightly oiled piece of cling film traps the necessary moisture far more effectively. Remember that dry dough cannot expand, and blowing warm air will quickly form a restrictive, leathery crust on the surface of your loaf if it remains fully exposed to the draught.
- Switch your oven on to a very low heat (around 100 Celsius) for just ten minutes, then turn it off completely.
- Wait for exactly five minutes to allow the fierce, initial blast of dry heat to dissipate safely into the room.
- Place a thickly folded bath towel on the counter directly adjacent to the oven to insulate the base of your glass or metal bowl from cold granite or laminate worktops.
- Position your covered bowl securely on the towel, rotating it a simple quarter-turn every twenty minutes to ensure an entirely even distribution of the ambient warmth.
This specific toolkit relies heavily on feeling the air with your own hands rather than obsessively reading a digital meat thermometer. If the side of the glass bowl feels physically hot to your palm, it is far too close to the heat source and needs to be pulled back immediately.
Your ideal ambient temperature should hover gently around 25 to 28 Celsius. If you lack a reliable thermometer, rely entirely on the human skin test; the air immediately around the bowl should feel like a mild summer breeze, entirely comfortable and just noticeably warmer than the rest of the chilled room.
Reclaiming the Rhythm of Baking
We far too often abandon the romantic idea of making fresh bread during the hectic working week because the sheer expanse of waiting feels entirely incompatible with our modern, rushed lives. We look at the ticking clock, calculate the dreary hours until the first proving is finally complete, and reluctantly reach for a plastic-wrapped supermarket loaf instead.
But consciously learning to manipulate the invisible environment of your kitchen completely alters that deeply frustrating dynamic. It changes bread-making from a rare, weekend-only commitment into a highly accessible Tuesday night reality. You finally stop fighting the clock, and instead cleverly bend the environment to suit your own demanding schedule.
There is a deep, quiet satisfaction in checking a bowl you mixed barely an hour ago and finding it already pillowy and beautifully swollen, pressing eagerly against the tight cling film. It proves that magnificent baking is not just about blindly following rigid instructions; it is about sharp observation, clever adaptation, and finding the absolute simplest path to a warm, fresh loaf.
“The absolute secret to a beautiful rise isn’t forcing aggressive heat into the dough, but rather wrapping it in a gentle, invisible blanket of ambient warmth.” — Arthur Pendelton
| Key Point | Detail | Added Value for the Reader |
|---|---|---|
| Distance is Everything | Keep the bowl roughly 30 centimetres from the heat source. | Prevents premature baking and disastrous thermal shock to the yeast. |
| Insulate the Base | Rest the bowl on a folded towel rather than bare counters. | Stops cold granite or laminate from sapping warmth away from the bottom. |
| Trap the Moisture | Use oiled cling film or a tight shower cap over the bowl. | Ensures the dough surface remains stretchy, avoiding a restrictive dry crust. |
Frequently Asked Questions
Can I just put the dough directly inside the oven? Only if the oven is completely turned off and you are relying entirely on the internal light bulb for a tiny bit of warmth; otherwise, you risk baking the exterior prematurely.
Why is my dough developing a hard crust during the rise? You haven’t sealed the internal moisture in properly. Draughts from the warm oven will rapidly dry the surface, so always use oiled cling film or a tight shower cap.
Does this ambient trick work for gluten-free bread? Yes, gluten-free yeast mixtures also benefit significantly from ambient warmth, though they usually require far less proving time overall to avoid collapsing structurally.
How close to the warm oven should the bowl actually be? Start at roughly thirty centimetres away. The side of the bowl should feel pleasantly warm to the touch, but never actually hot.
What if my kitchen is entirely open-plan and terribly draughty? Create a smaller temporary barricade by placing large chopping boards or cereal boxes around the bowl to effectively trap the warm air escaping from the oven.