You pull the dish from the oven, and the scent of rosemary and slow-braised beef fills the kitchen. The top looks glorious—a golden, puffed crown of flaky ridges catching the afternoon light. It promises the kind of comfort that only a proper British pie can deliver on a damp Sunday.
But as the serving spoon breaks through the crust, a familiar sense of dread washes over you. Instead of snapping with a satisfying crunch, the pastry has simply surrendered to the rich gravy, turning into a stodgy, grey paste clinging miserably to the bottom of the tin.
We have all accepted this as an inevitable casualty of home baking. You carefully line your cold metal tin, spoon in your filling, crimp the edges, and slide it onto the middle shelf. You trust the ambient heat of the oven to do the heavy lifting.
Yet, bakeries and gastro-pubs never serve soggy pastry bases. They possess a quiet understanding of thermodynamics that eludes most domestic kitchens. It has nothing to do with buying an expensive brand of pastry, and everything to do with how you manage the butter.
The Physics of the Golden Crust
Think of puff pastry as a fragile tower of butter and flour, held together entirely by temperature. When you place a cold tin into a hot oven, the ambient air takes ten to fifteen minutes to heat the metal properly.
During this agonising lag, the butter quietly melts away, bleeding into your filling rather than turning into steam to push the flour layers upward. By the time the tin is hot enough to bake the dough, the structural damage is done. You are boiling the pastry in meat juices rather than baking it.
The solution requires a complete reversal of the standard domestic method. Instead of relying on the air around the pie, you must force heat directly into the base from the very first second.
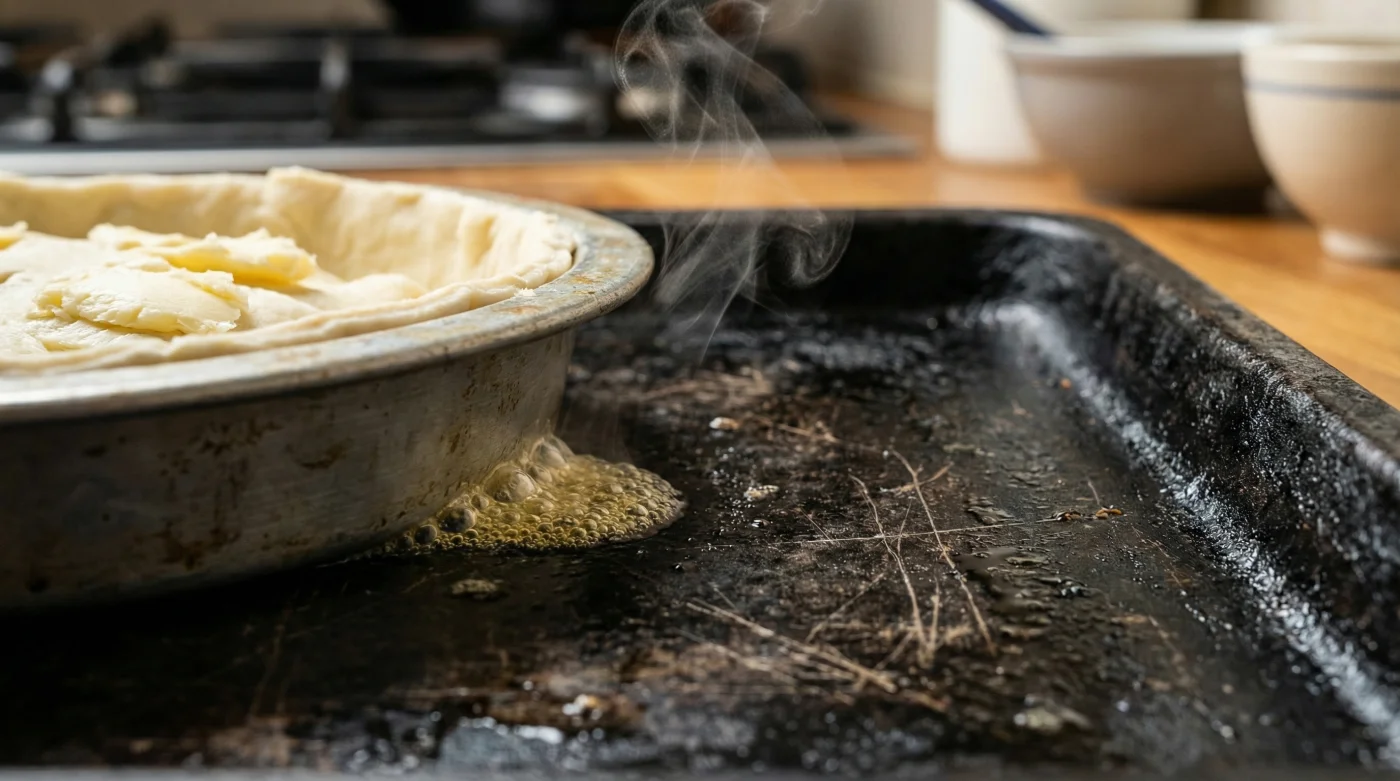
By placing your cold, assembled pie tin directly onto a preheated tray, you create a violent thermal shock. The roaring hot metal transfers its heat instantly to the base of your tin. The butter immediately vaporises its water content, puffing the dough and creating a waterproof seal before the filling has a chance to seep through.
This is a lesson hard-earned by those who stake their livelihood on perfect pastry. Take Gareth, a 54-year-old head chef at a bustling rural pub in the Cotswolds. Serving over three hundred steak and ale pies a week, he relies on a staggeringly simple routine. “People think we blind-bake every single base,” he notes, wiping down his steel counter. “We don’t have the hours. We just keep three heavy iron baking sheets sitting on the bottom rung of the oven all day. You drop the cold pie tin straight onto that blistering steel. It sears the bottom layer of pastry instantly, like dropping a steak into a smoking pan.”
Tailoring the Shock to Your Kitchen
Not all pie dishes react to thermal shock the same way. Modifying your approach based on your chosen vessel is critical, because understanding your baking vessel changes how you apply the heat.
For the Tin-Plate Traditionalist
If you use cheap, thin metal tins, the heat transfer will be brutally fast. This is excellent for ensuring a crisp bottom, but it means you must monitor the bake. Drop the oven temperature by 10°C after the first twenty minutes to prevent the base from catching and tasting bitter.
For the Ceramic Enthusiast
Stoneware and heavy ceramics are stubborn insulators. A preheated baking sheet will help, but ceramics resist sudden temperature shifts. If you insist on using a beautiful vintage stoneware dish, preheat a heavy cast-iron skillet or a pizza stone instead of a thin baking tray. The retained thermal mass will push through the ceramic slowly and steadily.
For the Batch Baker
When building pies to freeze, you hold a distinct advantage. Assembling the pie and freezing it solid in the tin means the butter is exceptionally cold. When you finally transfer that frozen solid tin onto a roaring hot tray, the contrast is absolute. The pastry will puff dramatically, yielding the flakiest base possible.
The Five-Minute Kitchen Fix
Mastering this technique requires no new equipment. You are performing a simple physical correction, needing only a shift in timing.
Begin by placing a heavy baking tray—ideally thick aluminium or steel—onto the lowest shelf of your oven. Turn the heat to 220°C (200°C fan) and leave it empty for at least half an hour.
While the metal absorbs the heat, prepare your pie in a cold tin. Keep the pastry in the fridge right up until the moment you line the dish. You must keep the butter remarkably stiff before it hits the oven.
- The Transfer: Open the oven door, pull out the shelf slightly, and slide your cold pie tin directly onto the hot tray. Do not remove the hot tray from the oven, as it will lose heat rapidly in the cooler kitchen air.
- The Sear: Bake at the initial high heat for 15 minutes to guarantee the thermal shock. You want the pastry to seal immediately.
- The Bake: Lower the temperature to 180°C (160°C fan) and bake for the remaining 30 to 40 minutes, allowing the filling to bubble without burning the delicate upper crust.
This small tactile intervention connects you physically to the chemistry of baking. You can feel the heat radiating from the hot tray as you slide the cold tin across it.
Reclaiming the Sunday Roast
Removing the fear of a soggy base changes how you approach the kitchen entirely. It strips away the anxiety of serving guests a disappointing meal.
It turns a stressful gamble into a predictable science. When you understand the mechanics of pastry, you stop blindly trusting recipes that fail to mention thermodynamics, and instead begin cooking with intent and observation.
Baking a pie stops being an exercise in crossing your fingers. It becomes a quiet joy, knowing that when the knife finally cracks through the golden crust, the base will hold firm, catching the glossy gravy exactly as it should.
“The difference between an amateur bake and a professional finish is rarely the ingredients; it is almost always the control of heat.”
| Key Point | Detail | Added Value for the Reader |
|---|---|---|
| Thermal Shock | Placing a cold tin onto a 220°C preheated tray. | Vaporises butter instantly, creating a waterproof, crispy barrier against gravy. |
| Temperature Lag | Putting a cold tin onto a cold oven shelf. | Avoids the 15-minute lag where butter melts and ruins the base. |
| Material Matter | Thin metal transfers heat faster than thick ceramic. | Allows you to adjust your oven temperature depending on your pie dish. |
Common Pastry Questions Addressed
Does this work for shortcrust pastry too?
Yes. While shortcrust doesn’t puff, the intense heat sears the bottom layer of flour, preventing fruit juices or wet meat fillings from soaking through.Can I preheat a glass dish instead?
Never preheat a glass dish empty, and do not subject cold glass to extreme thermal shock. This method is strictly for metal tins or placing ceramic/glass onto preheated metal.Do I still need to prick the base with a fork?
If you are filling the pie immediately, pricking (docking) is less critical when using the hot tray method, as the weight of the filling keeps the pastry flat while the base crisps.Will the bottom burn before the top is cooked?
Not if you drop the temperature after 15 minutes. The initial blast does the sealing; the lower residual heat finishes the bake.What if my filling is already hot?
Always let your filling cool completely before assembling your pie. Hot filling melts the raw pastry butter before the pie even reaches the oven, defeating the entire process.