Morning light filters through the rain-spotted window, catching the fine flour dust on your oak worktop. You reach into the bread bin, anticipating the comforting give of that sourdough you bought on Tuesday. Instead, your knuckles strike a surface that feels more like a seasoned cricket ball. The loaf has betrayed you, turning from a supple, yeasty delight into an unyielding block of starch.
Most of us accept this as the inevitable end of the line. You sigh, mentally writing off the four pounds sterling you spent at the local bakery, and perhaps resign yourself to slicing your fingers while trying to carve out reluctant croutons. But discarding a perfectly good loaf because it has lost a little moisture is a modern tragedy born of convenience.
In professional kitchens, waste is anathema, and staleness is rarely a death sentence. Chefs do not see a hard crust as a failure; they view it as an ingredient temporarily out of balance. The secret to reversing this seemingly irreversible decline requires no specialist equipment, no complex chemical agents, and virtually no effort at all.
It demands nothing but water, a simple tea towel, and a few minutes of heat. This lazy fix transforms the most formidable bakery brick back into soft, fresh bread, saving your breakfast and your wallet.
The Science of Starch Retrogradation
You might think your loaf has simply dried out, but the reality of the situation is much more dynamic. When bread goes stale, it is undergoing a structural shift known as starch retrogradation. The starches, which absorbed water and expanded delightfully in the oven, begin to crystallise. As they tighten, they push their internal moisture out towards the crust, leaving the crumb dry and crumbly.
The loaf is not dead; it is simply holding its breath. Think of it like a dense natural sponge left on the windowsill. The cellular structure remains perfectly intact, waiting for the right conditions to return to its former state. This very rigidity, initially seen as a culinary disaster, becomes its greatest advantage. Because the starch matrix is firm, it can take on a sudden influx of steam without collapsing into an unpleasant, claggy paste.
Ask Elias Thorne, a 58-year-old artisanal baker running a small operation on the rugged Cornish coast. Elias routinely takes loaves that have sat in the bracing sea air for two days and performs what looks like minor sorcery in his back ovens.
“People assume bread naturally expires,” Elias often remarks over his flour-dusted counter, “but it merely forgets how it was baked. You just have to remind it with a damp cloth and a burst of heat. It is exactly like ironing the creases out of a crumpled linen shirt.”
Resurrection by Crust: Finding Your Loaf’s Rhythm
Not all bread behaves the same way when exposed to this technique. You must adjust your approach based on the specific architecture of the loaf you are attempting to revive.
For the Sourdough Purist
A dense, naturally leavened boule requires a slightly heavier hand. Because the crust is inherently robust, you need a towel that is thoroughly saturated, though not dripping. The thick outer shell acts as a barrier against the heat, allowing the trapped steam to penetrate deeply into the sour crumb without turning the exterior to mush.
For the Busy Parent
When dealing with pre-sliced supermarket bread or soft morning baps, you are working with an incredibly delicate structure. The towel must be only faintly damp, almost as if it had dried on the line for an hour. Too much water applied here, and you will find yourself dealing with an unusable, wet sponge.
For the Weekend Feaster
Baguettes and ciabattas, with their high crust-to-crumb ratio, sit somewhere in the middle of the spectrum. Focus the moisture entirely on the rigid exterior. You want the oven’s ambient heat to flash-steam the outside, returning the satisfying snap to the crust while the internal crumb softens gently.
The Five-Minute Revival Ritual
Bringing your loaf back to life is an exercise in gentle observation. You are not cooking the bread further; you are coaxing it back to its original state.
Begin by taking a clean, thick cotton tea towel. Run it under the cold tap until it is completely soaked, then wring it out with absolute conviction. You want the fabric to feel cool and heavy, but yielding no loose drops.
Wrap your stubborn loaf entirely in the cloth, ensuring no section of crust is left exposed to the dry air. Tuck the ends under the bottom of the loaf.
Place the wrapped bread directly onto a baking tray. This prevents the bottom from sweating directly onto your metal oven racks, which can cause sticking.
Here is your Tactical Toolkit for the perfect revival:
- The Wrapping: One clean, tightly woven cotton tea towel (strictly avoid terry cloth, which leaves lint on your food).
- The Temperature: A moderate, steady heat of 160°C (Fan) or Gas Mark 4.
- The Timing (Whole Loaves): 10 to 12 minutes, undisturbed.
- The Timing (Sliced/Rolls): 3 to 5 minutes, watched closely.
- The Finish: Unwrap for the final 2 minutes in the oven if a crisper, artisan crust is desired.
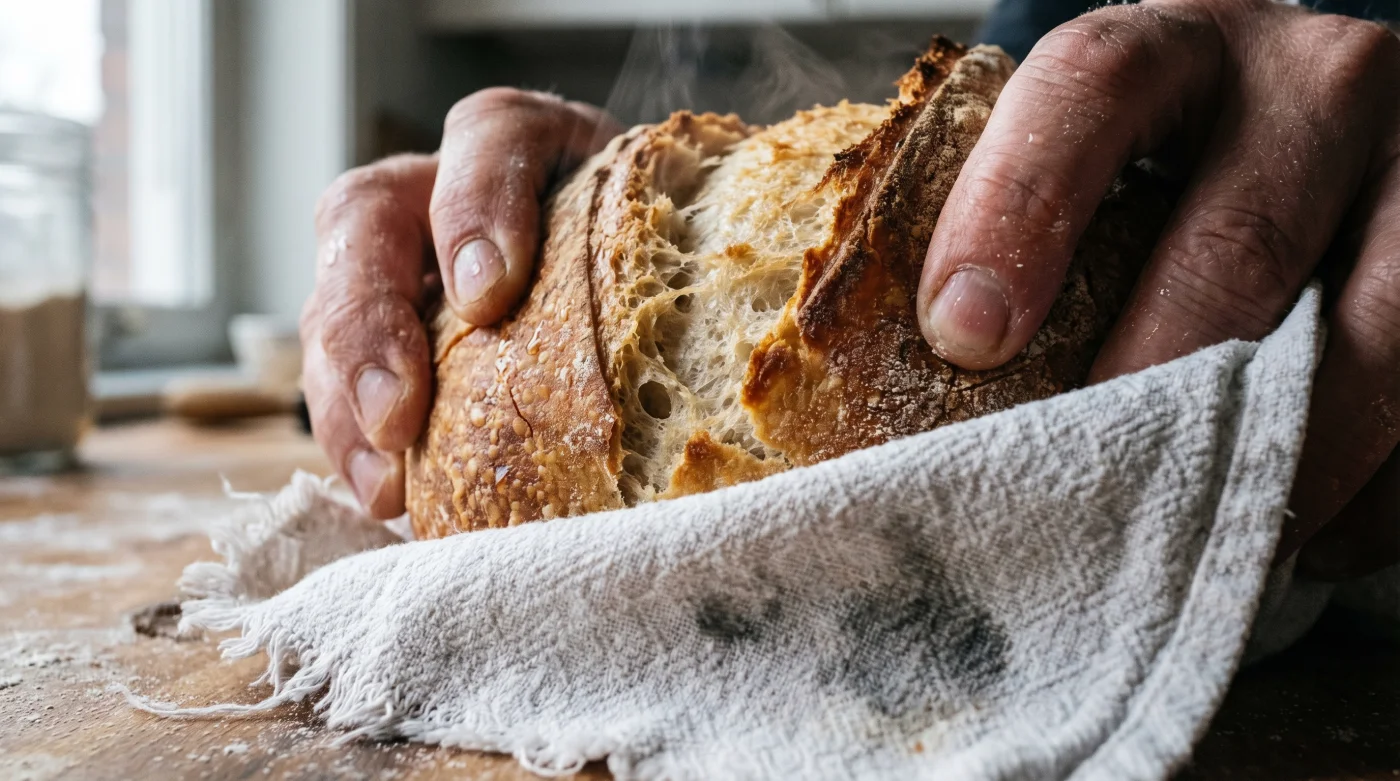
When you retrieve the tray, unwrap the towel carefully, watching the gentle plume of steam rise into your kitchen. The crust will yield beautifully beneath your fingers, smelling intensely of toasted grain.
The Quiet Satisfaction of Salvage
There is a profound, quiet joy in turning a perceived ruin into a fresh feast. In a world that constantly nudges us to throw away the slightly imperfect and buy anew, learning to read the physical state of your ingredients feels like a small, highly practical rebellion.
By wrapping that hardened loaf in a wet towel, you are participating in a timeless ritual of kitchen economy. It shifts your perspective from seeing food as a disposable commodity to viewing it as a responsive, living element.
Tomorrow morning, when the rain is lashing against the glass and you find a forgotten crust sitting in the bread bin, you will not feel a pang of frustration. You will simply turn on the tap, reach for a cloth, and confidently restore your morning ritual.
“Staleness is not a flaw; it is simply bread asking for a second chance at the oven.”
| Key Point | Detail | Added Value for the Reader |
|---|---|---|
| The Moisture Balance | Wring the towel until practically dry for soft breads; leave slightly wetter for dense sourdoughs. | Prevents ruining delicate loaves while ensuring thick crusts receive enough steam. |
| Temperature Control | Bake at 160°C (Fan) to generate steam without actively toasting the exterior. | Revives the crumb to a fluffy texture rather than accidentally baking croutons. |
| Resting Period | Let the bread sit on a board for 2 minutes after unwrapping. | Allows the surface starch to set properly, giving you a perfect slice without tearing. |
Common Bread Revival Queries
Can I use paper towels if I lack a clean tea towel?
It is not advisable. Paper towels often disintegrate under the intense heat and moisture of the oven, leaving papery lint fused to your crust. Stick to woven cotton.Does this trick work in the microwave?
A microwave will heat the water molecules and soften the bread instantly, but the results invariably turn rubbery and tough within minutes. The oven method provides a lasting, bakery-fresh texture.How many times can I revive the same loaf?
You can truly only perform this trick once. After a second bake, the delicate starch structure breaks down entirely, and you are better off blitzing the remnants for breadcrumbs.Should I slice the bread before or after wrapping?
Always revive the loaf whole if possible. If it is already sliced, keep the slices tightly stacked together within the towel to protect the exposed crumb from direct heat.Will a damp towel leave my bread tasting soapy?
Only if your towel holds residual laundry detergent. Always use a freshly rinsed towel that has been washed without heavily perfumed fabric conditioners.